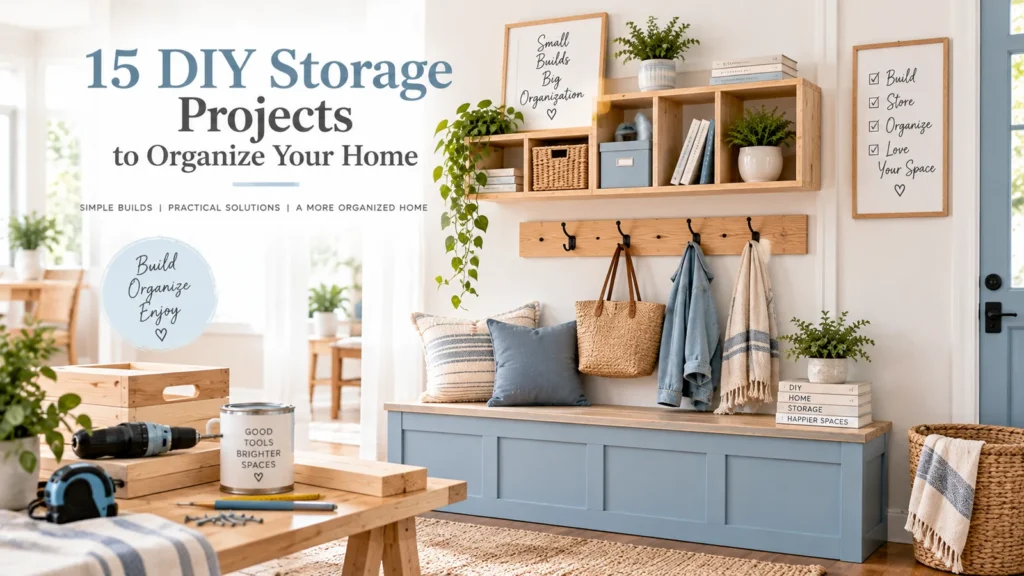
DIY storage works best when it is designed around a specific category.
Building a box first and deciding what belongs inside later usually creates another object to store. A better project begins with the item, the available space, the way you reach for it, and the weight the finished storage must support.
These 15 projects range from simple dividers to basic freestanding builds. They are intended as ideas, not universal construction plans. Dimensions, materials, fasteners, and mounting methods must be selected for the actual load and location.
Prefer to work from woodworking plans? For projects involving wooden shelves, boxes or other builds, you can explore the TedsWoodworking plan collection as an optional resource. Review the seller’s current examples, pricing and refund terms before purchasing. We have not independently tested these plans; check all dimensions, loads and safety requirements before building.
Affiliate disclosure: This TedsWoodworking link is an affiliate link. The EverEight may earn a commission if you purchase through it, at no additional cost to you.
Before Building Storage: Measure the Category
Ask:
- What exactly will this hold?
- How many items are there?
- How heavy are they?
- How often are they used?
- Does the storage need to move?
- Will it be wall-mounted or freestanding?
- What is the maximum available width, depth, and height?
Leave a little extra capacity. Storage packed to 100 percent is difficult to use.
1. Custom Drawer Dividers
Create removable dividers for utensils, office supplies, accessories, or another small category.
Measure the drawer interior at multiple points.
Use suitable thin wood, board, or another durable material. A friction-fit design can avoid permanent changes.
Round or smooth exposed edges where needed.
Best for: Small items that mix together.
2. Entryway Key and Accessory Board
Attach hooks to a suitable premade board and mount it near the entryway.
Plan the hook spacing around the items you actually hang.
Use wall fasteners appropriate to the wall and expected load.
Best for: Keys, lightweight accessories, and small daily items.
3. Freestanding Shoe Shelf
Build a simple low shelf sized for the shoes your household actually uses.
Keep it stable, smooth exposed edges, and design for the expected load.
A tall narrow shoe unit introduces tipping concerns and may require appropriate restraint.
Best for: Daily footwear near an entryway.
4. Under-Bed Storage Box
Build or adapt a shallow box that fits beneath the bed.
Measure the lowest clearance point and allow room for your hands or casters if used.
Use a lid if dust protection is important, but consider whether the extra step will make everyday use inconvenient.
Best for: Seasonal clothing, bedding, or low-frequency items.
5. Desktop Supply Riser
Create a low riser with storage beneath it for notebooks, keyboard accessories, or office supplies.
If it supports a monitor or electronics, design for the actual weight and equipment ventilation requirements. Do not assume a decorative riser is structurally suitable.
Best for: Small desks with unused vertical space.
6. Simple Mail Sorter
Build a few broad slots for incoming paper: action, file, and another category only if needed.
Do not create ten slots unless your household will actually use them.
Mount securely if wall-hung, or keep the unit stable if freestanding.
Best for: Paper that currently lands on counters.
7. Blanket Box From a Sturdy Premade Crate
Use a suitable sturdy crate as the base for an open blanket container.
Sand rough areas and finish as appropriate.
Avoid adding a heavy hinged lid without considering pinch hazards, hinge design, and lid support. An open box is simpler for beginners.
Best for: Lightweight throws or soft items.
8. Pantry Packet Organizer
Create narrow removable dividers inside a suitable bin or shallow box.
Group seasoning packets, drink mixes, or small packaged ingredients.
If the organizer will contact unpackaged food directly, use materials intended for food contact. Otherwise keep food in its original packaging.
Best for: Small packets that collapse into piles.
9. Vertical Baking-Sheet Divider
Build a freestanding or securely installed divider for lightweight trays, cutting boards, or baking sheets.
The structure must remain stable when one item is removed.
Do not use lightweight dividers for heavy cookware beyond their capacity.
Best for: Cabinets where flat items are stacked awkwardly.
10. Cleaning-Tool Wall Rail
Install a commercially rated rail or appropriate hooks for brooms, mops, and lightweight cleaning tools.
Follow mounting instructions and confirm wall construction.
Keep chemical products stored separately and securely as required.
Best for: Utility closets with crowded floors.
11. Simple Bathroom Shelf – Freestanding Version
Build a small freestanding shelf for towels or suitable toiletries rather than beginning with wall-mounted bathroom construction.
Choose materials and finishes appropriate for humidity and possible splashes.
Keep the unit away from electrical hazards and ensure it cannot tip.
Best for: Bathrooms with unused floor or vanity space.
12. Toy Category Boxes
Build simple open boxes or adapt sturdy premade crates for broad toy categories.
Smooth edges and avoid protruding fasteners.
For children’s spaces, consider tipping, climbing, entrapment, small parts, and age-appropriate access. Secure furniture where appropriate.
Best for: Fast cleanup with broad categories.
13. Closet Shelf Dividers
Create removable upright dividers to keep folded clothing, bags, or linens from spreading.
The divider should fit securely without damaging the shelf.
Avoid tall unstable dividers that could fall when items are removed.
Best for: Wide shelves with category drift.
14. Rolling Craft or Hobby Box
Add appropriate mobility to a sturdy storage box or build a low rolling platform for a suitable container.
Select casters for the load and floor type. Locking casters may be useful depending on the application.
Keep the unit low to reduce tipping risk.
Best for: Supplies used in more than one room.
15. Simple Open Cubby Bench – Advanced Beginner Option
A low open cubby can combine entryway storage with a surface, but a bench that people will sit on is a structural load-bearing project.
For a true beginner, use the cubby as storage only unless you are following a proven design with materials, joinery, and load capacity intended for seating.
If seating is required, choose a tested commercial bench or an appropriate plan rather than guessing.
Best for: Entryway storage; seating only with a properly engineered design.
Choosing Wood and Sheet Materials
There is no single best material.
Solid wood, plywood, MDF, and other boards have different strength, moisture, finishing, weight, dust, and fastening characteristics.
Use a material suitable for the project and environment. Follow cutting and dust-control guidance. Some sheet goods are heavy and awkward for beginners to handle alone.
Have large sheets cut by a retailer or supplier if that is safer and more practical.
Fasteners Matter
A screw is not simply a screw.
Length, diameter, head type, material, thread, and intended substrate affect performance.
Wall mounting adds another layer: the wall construction and load determine the appropriate fastening method.
Do not select fasteners based only on what happens to be in a drawer.
For load-bearing or safety-critical installations, use a proven design or professional guidance.
Freestanding vs Wall-Mounted Storage
Freestanding projects are often easier for beginners because they avoid hidden utilities and wall-fastening decisions.
Wall-mounted storage saves floor space but requires understanding the wall and load.
If a wall-mounted project will hold heavy objects, be located above people, or fail dangerously, increase the level of caution and expertise.
Open vs Closed Storage
Open storage is faster to use.
It works well for daily shoes, blankets, toys, and tools.
Closed storage hides visual clutter and protects some items from dust, but doors and lids add construction complexity.
For a first storage project, open designs are usually easier.
How to Make DIY Storage Look Built-In Without Building It In
Use repeated dimensions and consistent spacing.
Align the top or side of the project with an existing furniture line. Match or coordinate the finish. Leave deliberate clearance around walls and trim.
Do not permanently attach a freestanding piece simply to create a built-in appearance unless the attachment is safe and appropriate.
Budgeting for DIY Storage
Compare the project with a ready-made alternative.
Wood, hardware, finish, casters, and tools can make a simple box surprisingly expensive.
DIY makes the most sense when:
- You need a custom size.
- You already own basic tools.
- You want a specific finish.
- You value the learning experience.
Buying may make more sense for highly engineered, load-rated, or complex storage.
Storage Safety Checklist
Before using the finished project:
- Check for wobble.
- Tighten appropriate fasteners.
- Smooth sharp edges.
- Remove protruding hardware.
- Confirm casters or moving parts operate safely.
- Verify wall attachment where used.
- Keep heavy items low.
- Do not exceed the intended load.
- Consider children, pets, and climbing behavior.
- Let finishes and adhesives cure fully.
Recheck the project after it has been in use for a while.
Common DIY Storage Mistakes
Building to exact capacity: The category has no room to grow or move.
Ignoring handles and access: A perfect-fit box cannot be removed from the shelf.
Choosing looks over cleaning: Storage in kitchens and bathrooms may need washable surfaces.
Using weak materials for heavy items: The project sags or fails.
Wall-mounting without understanding the wall: Fasteners may not hold.
Making categories too specific: The storage becomes obsolete when habits change.
EverEight Pro Tip
Before cutting any material, mock up the storage volume with cardboard boxes or painter’s tape. Put the real items inside the mock-up for two days. If the category is awkward in cardboard, a beautiful wooden version will still be awkward.