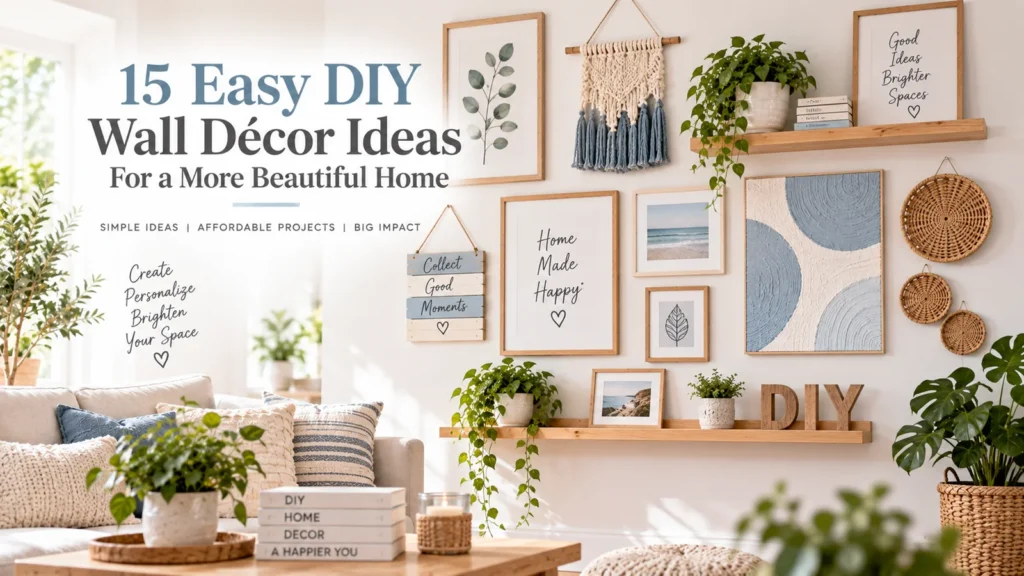
A blank wall does not always need more objects. Sometimes it needs one strong piece, a deliberate group, or simply enough empty space around furniture.
When DIY wall décor is the right choice, beginners should start with lightweight projects and careful layout. The creative part is only half the job; anything mounted above furniture, walkways, beds, or play areas also needs a safe attachment method suited to the wall and object.
These 15 ideas emphasize manageable materials and reversible planning.
Before You Hang Anything
Identify the wall type and consider what may be concealed behind it.
Drywall, plaster, masonry, tile, and other wall systems require different fastening methods.
Know the weight of the finished object. Follow the hanging hardware manufacturer’s load and installation instructions.
Avoid drilling blindly where electrical wiring, plumbing, or other services may be present. If you cannot identify a safe fastening location or method, get appropriate help.
1. Framed Fabric Panels
Frame fabric remnants to create large areas of pattern.
Use matching frames for a formal grid or coordinated frames for a relaxed arrangement.
Keep valuable textiles uncut if you may want to preserve them.
Why it works: Fabric can fill more wall area than a small print without requiring painting skills.
2. A Photo Grid
Choose a consistent print size and arrange photographs in a measured grid.
Use paper templates before hanging frames.
Measure from one level reference line rather than from each previous frame to reduce cumulative error.
Why it works: Repetition makes inexpensive images feel intentional.
3. Pressed Botanical-Style Frames
Arrange fully dried leaves or flowers, or use printed botanical imagery.
Real organic material should be thoroughly dry before framing.
Do not collect protected plants or remove material where collection is prohibited.
Why it works: Simple shapes create calm negative space.
4. A Lightweight Textile Banner
Use fabric and a lightweight dowel or appropriate support.
Keep cords safely away from children and pets.
Mount the piece according to its weight.
Why it works: It adds softness where framed art may feel too rigid.
5. Painted Canvas Color Blocks
Use inexpensive canvases or suitable art boards to create simple geometric color fields.
Test the palette on paper first.
Choose art materials appropriate for the substrate and allow them to dry fully.
Why it works: You control the exact colors without needing drawing skills.
6. Framed Maps or Meaningful Paper
Frame a map, sheet music you have rights to use, a meaningful letter copy, travel ephemera, or another suitable paper item.
Protect originals of sentimental or financial value by framing copies when appropriate.
Why it works: Personal meaning can make simple materials feel special.
7. A Removable Painted Wall Panel
Create a defined painted rectangle, arch-style shape, or other simple geometry directly on a suitable wall.
Use a level, pencil, and painter’s tape.
Check rental rules and paint compatibility.
Do not paint over defects that need repair.
Why it works: Paint creates scale without adding a physical object.
8. Decorative Empty Frames
Arrange several empty frames as sculptural wall décor.
Paint suitable frames one coordinated color if desired.
Even empty frames need secure mounting.
Why it works: Shape and shadow become the artwork.
9. A Small Plate Display
Display decorative plates using mounting systems designed for the plate size and weight.
Do not use valuable or fragile plates in high-risk locations.
Verify the hanger and wall attachment.
Why it works: Circular forms break up a room dominated by rectangles.
10. Framed Children’s Art Rotation
Use easy-open frames or a display system that allows artwork to change.
Store older pieces in a portfolio or photograph them before rotating.
Keep mounting hardware secure and age-appropriate for the room.
Why it works: The wall evolves without requiring new décor purchases.
11. A Simple Wooden Sign
Use a premade craft board and painted lettering or a stencil.
Finish edges cleanly.
Mount using hardware appropriate to the sign’s final weight.
Why it works: It teaches finishing and layout without complex construction.
12. A Shadow Box Collection
Display lightweight keepsakes in a suitable shadow box.
Avoid placing heavy objects behind weak glazing or mounting.
Use conservation-friendly methods for valuable memorabilia.
Why it works: Small objects become one organized visual statement.
13. A Paper-Cut or Layered Paper Artwork
Create geometric shapes from cardstock or other suitable paper and frame them.
Use acid-free materials when preservation matters.
Keep cutting tools controlled and stored safely.
Why it works: Paper is inexpensive and easy to test before committing.
14. A Pegboard Display Zone
A properly mounted pegboard can combine décor with lightweight functional storage for craft supplies or office items.
Follow the system’s mounting and load instructions.
Do not overload it or treat decorative accessories as structural hardware.
Why it works: The wall can change as your needs change.
15. One Oversized DIY Art Piece
Instead of filling the wall with many small objects, create one large lightweight piece using canvas, fabric, or another suitable material.
Plan the scale with painter’s tape on the wall first.
Large size increases mounting consequences, so keep the construction lightweight and attach it appropriately.
Why it works: One focal piece can make the wall feel finished with less visual clutter.
How High Should Wall Décor Be?
There is no universal number that works for every room.
Consider eye level, ceiling height, furniture height, and the composition as a whole.
When art hangs above furniture, visually connect the group to the furniture rather than floating it near the ceiling.
Use paper templates to test placement before making holes.
How to Plan a Gallery Wall
Start with the overall outside dimensions.
Lay frames on the floor within that footprint.
Choose consistent spacing or an intentionally varied system.
Photograph the arrangement.
Make paper templates and transfer them to the wall.
Mark hanging points based on each frame’s actual hardware, not simply the frame center.
Lightweight Does Not Mean No-Risk
Adhesive strips and removable hooks can be useful for certain objects and surfaces, but they have specific weight, surface, preparation, and removal requirements.
Do not assume “damage-free” means suitable for every paint, wallpaper, texture, humidity level, or load.
Follow the exact product instructions.
Avoid mounting fragile objects above beds or locations where falling would create greater risk unless the installation is appropriately designed.
How to Make DIY Wall Décor Look Cohesive
Repeat one element:
- Frame color.
- Mat color.
- Spacing.
- Shape.
- Wood tone.
- Accent color.
You do not need every piece to match.
Cohesion comes from a visible relationship.
What to Do With a Very Large Blank Wall
Do not automatically fill the entire area.
Use furniture first. A console, sofa, bed, desk, or bookcase creates the lower visual anchor.
Then decide whether the wall needs one large piece, a grouped arrangement, or nothing else.
Blank space can be part of the design.
Wall Décor in Rentals
Prioritize reversible methods that comply with your lease.
Check whether painting, holes, anchors, or adhesive products are allowed.
Even removable products can damage certain surfaces, especially weak paint or wallpaper.
Test discreetly when appropriate and follow removal instructions.
Wall Décor Around Children and Pets
Avoid heavy, sharp, breakable, or poorly secured items in locations where they can be pulled or knocked down.
Manage cords and hanging elements.
For children’s rooms, consider lightweight materials and secure furniture/wall systems appropriate to the space.
Decorative objects should not become climbing aids.
Common Wall-Décor Mistakes
Hanging before planning: You create unnecessary holes.
Using the wrong fastener: The wall or object cannot support the load.
Measuring from the previous frame: Errors accumulate.
Too many tiny objects: The wall looks scattered.
Ignoring furniture scale: Art floats without an anchor.
Relying on adhesive beyond its rating: Failure can damage both décor and property.
A Beginner Wall-Décor Toolkit
Depending on the project:
- Tape measure.
- Pencil.
- Level.
- Painter’s tape.
- Paper templates.
- Appropriate hanging hardware.
- Basic hand tools.
- Detection tools where appropriate.
- PPE for drilling or cutting.
You do not need all of these for every project.
EverEight Pro Tip
Photograph the blank wall straight-on, then use your phone’s markup tool to draw the approximate outside rectangle of the décor. If the rectangle looks too small before you buy or build anything, increase the composition’s scale on-screen first.