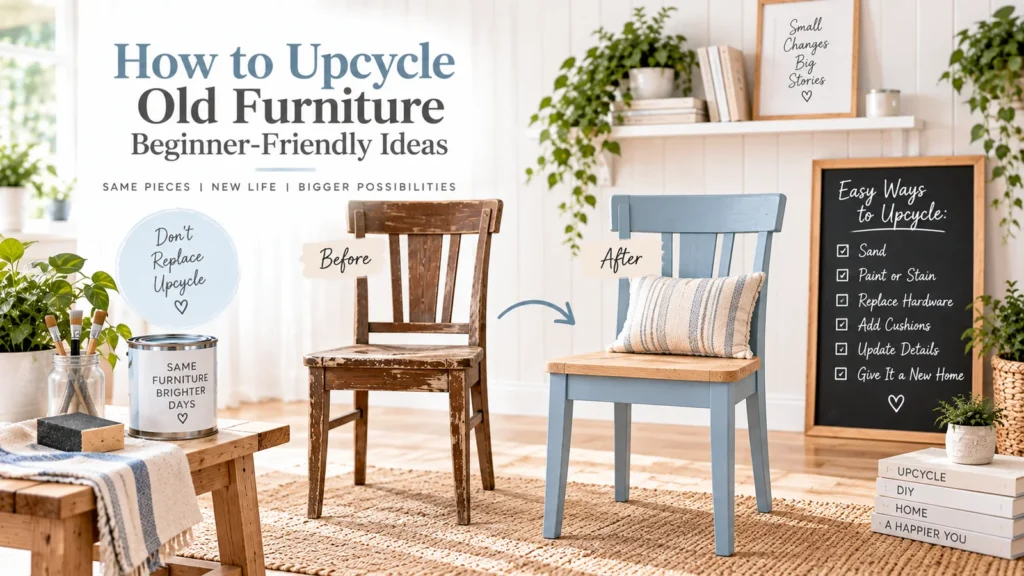
Upcycled furniture looks intentional when the design decisions make sense for the piece.
The difference is rarely an expensive tool. It is usually restraint: keeping good proportions, preparing the surface carefully, choosing hardware that fits the scale, and stopping before every possible DIY idea is added to one object.
Upcycling can mean painting, replacing hardware, repairing a cosmetic detail, changing a removable textile, improving function, or combining several small updates. It should not mean disguising structural damage or destroying a potentially valuable antique.
Quick Answer
Start with a structurally sound, ordinary piece. Identify what already works, choose one visual direction, make necessary repairs, prepare surfaces correctly, and limit the update to two or three coordinated changes. Use accurate measurements, compatible materials, consistent hardware, clean edges, and sufficient curing time. If the furniture is valuable, structurally unsafe, or coated with a potentially hazardous legacy finish, research or get professional guidance before altering it.
1. Choose the Right Piece
The easiest furniture to upcycle has a simple form and sound structure.
Look for:
- Stable tables.
- Ordinary wooden or suitable composite dressers.
- Simple cabinets.
- Stools used within their intended load.
- Small bookcases that remain square and stable.
Avoid assuming “free” means suitable. Water-swollen board, severe veneer failure, active pest damage, major joint failure, or unstable seating may require more work than the piece is worth.
2. Check Whether It Might Be Valuable
Before sanding or painting an older piece, look for maker’s marks, labels, construction details, and provenance.
A finish that seems dated may be part of the object’s value.
If the piece may be antique, collectible, or made by a known designer, research it first.
Upcycling should add value for you, not accidentally erase historical or financial value.
3. Preserve the Best Feature
Identify one thing worth keeping.
It may be the shape, wood grain, legs, drawer proportions, original handles, or a distinctive edge.
Build the update around that feature.
If you cover every original detail, you may be fighting the furniture instead of improving it.
4. Choose One Design Direction
Write three words before buying anything.
For example:
- Warm, simple, natural.
- Crisp, black, modern.
- Soft, light, traditional.
Use those words to filter choices.
A piece can look homemade when the paint, hardware, legs, decorative trim, and lining all belong to different styles.
5. Improve Proportion Before Decoration
A visual problem may be proportion rather than color.
Very small hardware can disappear on a wide drawer. Oversized pulls can dominate a delicate cabinet. Thick trim can make a small piece look heavy.
Measure the furniture and test details with paper templates.
Scale is a design tool.
6. Repair Before Refinishing
Tighten appropriate hardware. Repair loose veneer using a suitable method. Address minor surface damage.
Do not paint over loose joints, water damage, mold, or structural failure.
Seating deserves extra caution because failure can cause injury.
If a repair affects load-bearing joinery and you do not understand it, seek appropriate help.
7. Prepare the Surface Properly
Clean first.
Then follow the preparation requirements of the finish you plan to use.
That may include deglossing, controlled sanding, priming, or other steps.
Older coatings may require hazardous-material precautions. Do not dry-sand unknown old paint without considering lead or other risks.
8. Use Paint Strategically
Painting every surface is not required.
You can paint the base and preserve a good wood top, paint drawer fronts only, or use one color throughout for a calmer result.
Choose coatings compatible with the substrate and expected use.
Thin, even coats and proper cure time usually look more polished than a thick fast application.
9. Keep Natural Wood Where It Is Worth Keeping
If the wood is attractive and the finish can be restored appropriately, consider preserving it.
Do not aggressively sand thin veneer in an attempt to expose “real wood.”
Sometimes cleaning, minor repair, and hardware changes are enough.
10. Replace Hardware With Care
New knobs or pulls can transform a piece.
The easiest update uses existing hole spacing.
If drilling new holes, measure from a consistent reference point and use a template or jig where appropriate.
Keep the old hardware until the project is complete.
High-quality-looking hardware is not necessarily expensive; consistent scale and alignment matter more.
11. Avoid Too Many Decorative Add-Ons
Fluting, trim, cane, wallpaper, decals, new feet, paint, gold accents, and decorative molding can each work.
Using all of them together is harder.
Choose one focal treatment and let the rest support it.
Restraint is one of the easiest ways to make a DIY project feel intentional.
12. Line Drawers Only When It Adds Function or Finish
A drawer liner can hide a rough interior or add a controlled pattern.
Use removable material where practical and check adhesive compatibility.
Do not use strong permanent adhesive on valuable wood or a surface you may want to restore later.
13. Change Legs Only When the Structure Allows It
Replacing legs can alter the proportion of a cabinet or table, but the attachment points must support the new legs and load.
Do not screw new legs into thin board simply because the screw fits.
Changing furniture height can also affect stability.
If the piece is load-bearing or the new legs materially alter its structure, use a proven attachment method.
14. Treat Edges as a Quality Detail
Rough edges, paint ridges, exposed filler, and uneven seams make a project look unfinished.
Inspect edges under side lighting.
Sand or correct them only using methods appropriate for the material and coating.
Small finish details often matter more than another decorative feature.
15. Keep Drawers and Doors Functional
Paint buildup can make drawers stick.
Remove finish from contact areas if the coating system and furniture design require it, or mask them before painting.
Check door alignment and hinge operation.
A beautiful cabinet that no longer closes properly is not a successful upcycle.
16. Use Consistent Gaps
Furniture design relies on repeated spacing.
Drawer gaps, door gaps, hardware alignment, and decorative trim should look deliberate.
If one drawer is crooked, correct the hardware or alignment rather than trying to distract from it with decoration.
17. Choose Sheen Intentionally
Gloss, satin, eggshell-style, matte, and other sheens affect how imperfections and light appear.
A very flat finish can show handling differently from a more washable finish; high gloss can reveal surface defects.
Choose based on product performance, expected wear, and the visual style.
Do not choose sheen from a photograph alone.
18. Let the Finish Cure Before Styling
Do not immediately place books, lamps, trays, or décor on fresh paint.
Full cure may take significantly longer than touch-dry time.
Follow the product instructions.
This one patience step can prevent rings, dents, sticking, and damaged surfaces.
19. Photograph Before Adding More
Once the piece is assembled, take a photo in the room.
Photography makes proportion and visual clutter easier to see.
If it looks finished, stop.
Do not add another DIY technique merely because you have leftover materials.
20. Make the Upcycle Fit the Room
The piece does not need to match everything.
It should, however, relate to the room through color, material, shape, or function.
A simple connection – repeated black hardware, similar wood tone, or a shared warm neutral – can make the furniture feel intentional.
Five Upcycling Approaches That Stay Beginner-Friendly
Paint + hardware
The classic combination. Keep the palette restrained.
Clean + preserve wood + new hardware
Good when the material is worth showing.
Paint + one lined interior
Adds interest only when a drawer or cabinet opens.
Refinish the top + paint the base
Useful when the top and base have different conditions, provided the materials suit the treatments.
Cosmetic repair + styling change
Sometimes the best upcycle is repairing scratches appropriately, removing clutter, and placing the piece in a better location.
What Makes Upcycled Furniture Look Cheap?
Often it is not the price of the materials.
Common causes include:
- Misaligned hardware.
- Visible drips.
- Paint over dirt or damage.
- Too many unrelated decorative techniques.
- Rough edges.
- Unfilled or poorly filled old holes.
- Incompatible finishes.
- Unstable new legs.
- Using the piece before the coating cures.
- Ignoring the original proportions.
These are process problems.
Upcycling on a Budget
Spend on the component that affects function or finish quality.
A good brush may matter more than decorative trim. Correct hardware may matter more than drawer liner.
Reuse existing knobs if they suit the new direction. Use leftover compatible paint only if it is still in good condition and appropriate for the surface.
Do not use an unknown or degraded product just to avoid buying a small new quantity.
Safety and Accuracy
Use PPE appropriate to tools and coatings.
Ventilate as directed.
Control dust.
Keep children and pets away from the work area.
Do not alter structural furniture without understanding the loads.
Treat suspected lead, mold, pest damage, or other hazardous conditions appropriately.
Follow product instructions rather than mixing finishing systems based on appearance alone.
EverEight Pro Tip
Before changing the furniture, create a “do not touch” list of two features you will preserve. Limiting what you alter prevents the project from becoming a complete redesign and usually produces a more coherent result.