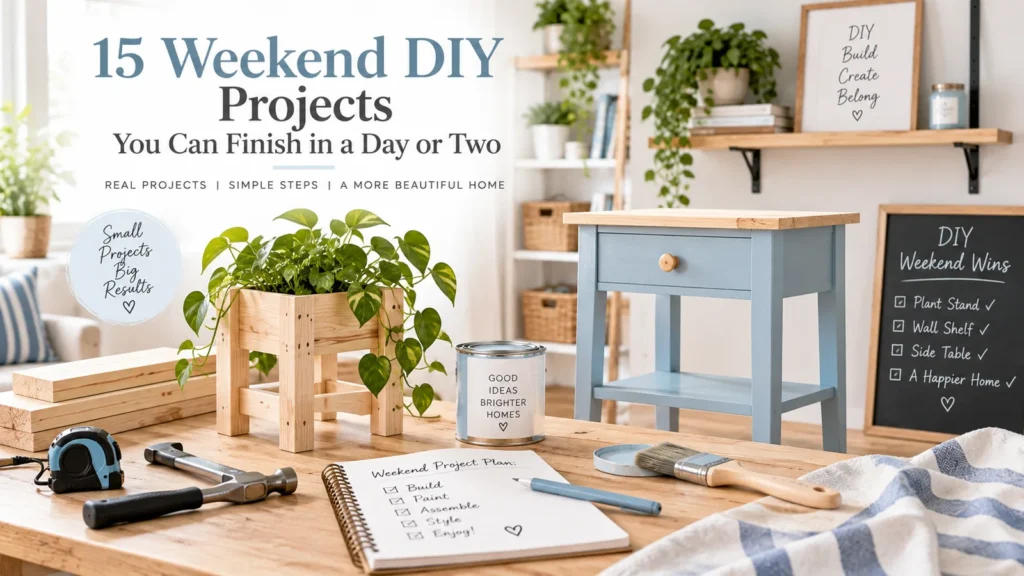
A good weekend DIY project fits the weekend.
That sounds obvious, but many projects described as “weekend projects” hide hours of shopping, drying, demolition, troubleshooting, or specialized work. For a beginner, the best weekend project has a small number of steps, common materials, a clear stopping point, and no critical building-system work.
These 15 ideas are designed around manageable scope. Some can be completed in a few hours; others may need drying or curing time across two days.
Before You Choose
Ask four questions:
1. Can I buy or gather everything before the weekend? 2. Does the project require a tool I have never used? 3. Is there drying or curing time? 4. If something goes wrong, can I stop without leaving the home unsafe or unusable?
If the answer to the fourth question is no, choose a simpler project.
1. Refresh a Small Side Table
A small table is a manageable introduction to furniture finishing.
Clean it, assess the existing finish, prepare the surface according to the new product’s instructions, and apply a compatible finish.
Do not sand unknown old coatings aggressively without considering the possibility of hazardous legacy finishes. Older painted surfaces may require lead-safe practices or professional assessment depending on age and location.
Weekend structure: Preparation Saturday morning, finish coats according to instructions, cure before normal use.
2. Build a Simple Freestanding Crate Shelf
Use premade sturdy wooden crates or simple boxes to create low freestanding storage. For more projects that introduce basic woodworking skills, see our beginner woodworking project ideas.
Do not stack units beyond their intended use or create a tall unstable structure. Secure furniture against tipping where appropriate, particularly in homes with children.
Skills: Layout, basic fastening, finishing.
3. Create a Pegboard Work or Craft Station
Install a commercially designed pegboard system according to its instructions.
The key challenge is safe wall attachment and respecting load limits.
Before drilling, identify wall construction and avoid hidden utilities.
Skills: Measuring, leveling, fastening.
4. Make Drawer Dividers
Create simple dividers from suitable thin wood, board, or another durable material.
Measure the inside dimensions at several points because drawers may not be perfectly square.
Use a removable friction-fit approach when possible so the system can change.
Skills: Measuring and accurate cutting.
5. Paint a Small Accent Area
Instead of repainting an entire room, choose a small suitable area: an alcove, the back of a bookcase, or a defined decorative section.
Prepare the surface and use paint intended for it.
Protect adjacent finishes and ventilate as directed.
Skills: Surface preparation and painting.
6. Build a Simple Entryway Key Board
Use a premade board and suitable hooks.
Lay out the hook spacing before drilling. Mount the finished board with hardware appropriate to the wall and expected load.
Keep it for lightweight items unless the design and mounting support more.
Skills: Repeated spacing and simple drilling.
7. Create Under-Bed Rolling Storage From a Suitable Premade Box
Add appropriately rated low-profile casters to a sturdy container if its construction supports them, or use a purpose-built rolling base.
Measure bed clearance, caster height, and floor transitions first.
Do not overload a lightweight box.
Skills: Measuring and hardware installation.
8. Make a Simple Fabric Pinboard
Cover a suitable cork or pinboard with fabric and secure the material neatly on the back.
Mount according to the board’s weight.
Keep staples and sharp fasteners contained.
Skills: Fabric tension and finishing.
9. Build a Freestanding Plant Platform
A low platform can elevate a plant pot and protect visual proportions in a room.
Keep the design low and stable. Calculate the weight of the pot when watered, not just when dry.
Use moisture-resistant protection appropriate to the location.
Skills: Basic assembly and load awareness.
10. Create a Closet Accessory Rail
Install a suitable rail or hook system inside a closet for belts, lightweight bags, or accessories.
Confirm wall or cabinet construction before fastening.
Do not overload thin cabinet panels.
Skills: Measuring and mounting.
11. Refresh Cabinet or Drawer Hardware
Replacing knobs or pulls can change the appearance of furniture or cabinetry without altering the structure.
The easiest version uses the existing hole spacing.
Measure center-to-center spacing before purchasing new pulls. Keep original hardware until the project is complete.
Skills: Measuring and hand-tool use.
12. Build a Simple Desktop Riser
A small freestanding riser can create storage under a monitor or office supplies.
If it will support electronics, design for the actual weight, stability, ventilation, and equipment requirements.
A decorative shelf is not automatically suitable as a monitor stand.
Skills: Basic assembly and load planning.
13. Create a Framed Wall Grid
Plan a simple grid of matching or coordinated frames.
Use paper templates first. Measure from a consistent reference line rather than measuring each frame from the previous one, which can compound errors.
Use appropriate hanging hardware.
Skills: Layout and precision.
14. Build a Basic Blanket Ladder – Decorative Use Only
A simple wooden ladder-style rack can hold lightweight blankets when designed as a decorative leaning rack.
It is not a climbing ladder.
Construct it so joints are secure, edges are smooth, and the unit is stable. Consider wall restraint if tipping is possible.
Skills: Cutting, assembly, sanding.
15. Create a Rolling Utility Cart Setup
Instead of building the cart, organize a commercially made cart into a mobile station for crafts, cleaning, office supplies, or another activity.
Use bins or dividers only where needed.
Do not load the top heavily or create a tip hazard.
Skills: Functional organization rather than construction.
How to Plan a Weekend Project on Friday
The fastest way to lose Saturday is to begin with shopping.
By Friday, try to have:
- Final dimensions.
- Materials list.
- Tool list.
- Product instructions.
- Safety equipment.
- Workspace cleared.
- A plan for drying or curing.
- A backup plan if one material is unavailable.
If a project depends on a specialty component, confirm availability before the weekend.
A Realistic Two-Day Schedule
Saturday morning
Prepare workspace, confirm measurements, make test cuts or samples, and complete the messy preparation work.
Saturday afternoon
Assemble or apply the first finish stage.
Saturday evening
Clean tools, review the next instructions, and let products dry or cure as required.
Sunday
Complete final assembly or coats only when product timing allows. Inspect the work and clean the workspace.
If full cure extends beyond Sunday, the project is still “finished” in the sense that active work is complete. Do not rush the product into service.
Projects to Avoid as a Beginner Weekend Challenge
Avoid setting a deadline around:
- Major plumbing changes.
- Fixed electrical work.
- Structural modifications.
- Gas appliances.
- Roofing.
- Large tile jobs without experience.
- Demolition where hidden conditions are unknown.
- Work involving suspected hazardous materials.
These jobs may require permits, specialized knowledge, or qualified professionals.
How to Prevent Scope Creep
Write the project’s finish line on paper.
If the goal is “replace drawer pulls,” do not also decide to repaint all cabinets halfway through.
Keep a separate “next project” list.
Scope control is one of the most valuable DIY skills because it protects time, budget, and safety.
Budgeting for a Weekend Project
Include consumables.
A $20 board may require fasteners, sandpaper, finish, applicators, and mounting hardware.
If you need a specialty tool only once, compare renting or borrowing with buying.
Do not let a low-cost project become expensive because you purchased an entire tool ecosystem before knowing whether you enjoy the activity.
What to Do When the Project Is Taking Too Long
Stop and reassess.
Is the delay because a product needs more cure time? Then wait.
Is a component wrong? Replace or correct it rather than forcing it.
Is the project more complex than expected? Make the area safe, document where you stopped, and continue another day.
A weekend deadline is not a safety deadline.
EverEight Pro Tip
For a true weekend project, set a “tools down” time on Sunday that is at least two hours before you need the room back. That buffer is for cleanup, corrections, and putting the home back into normal use.